Last updated November 20, 2026
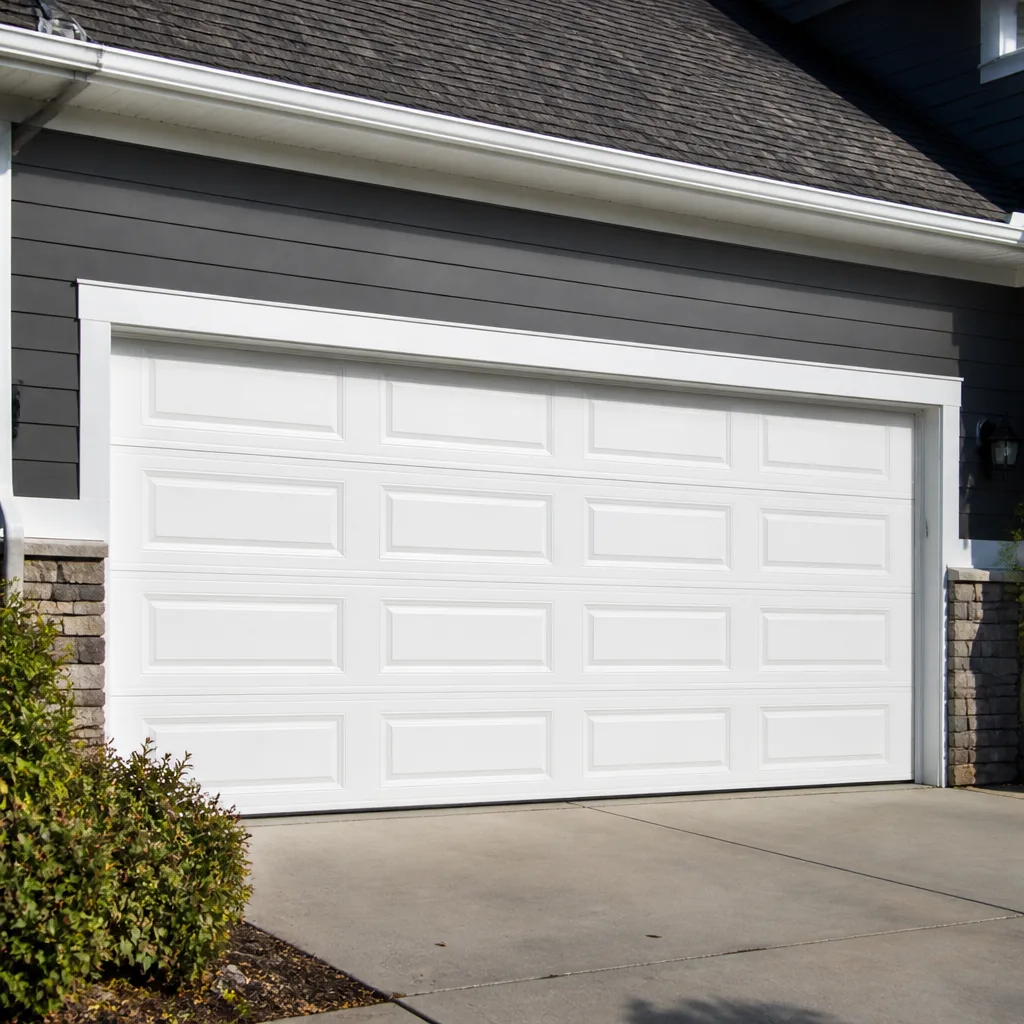 Raised-panel steel
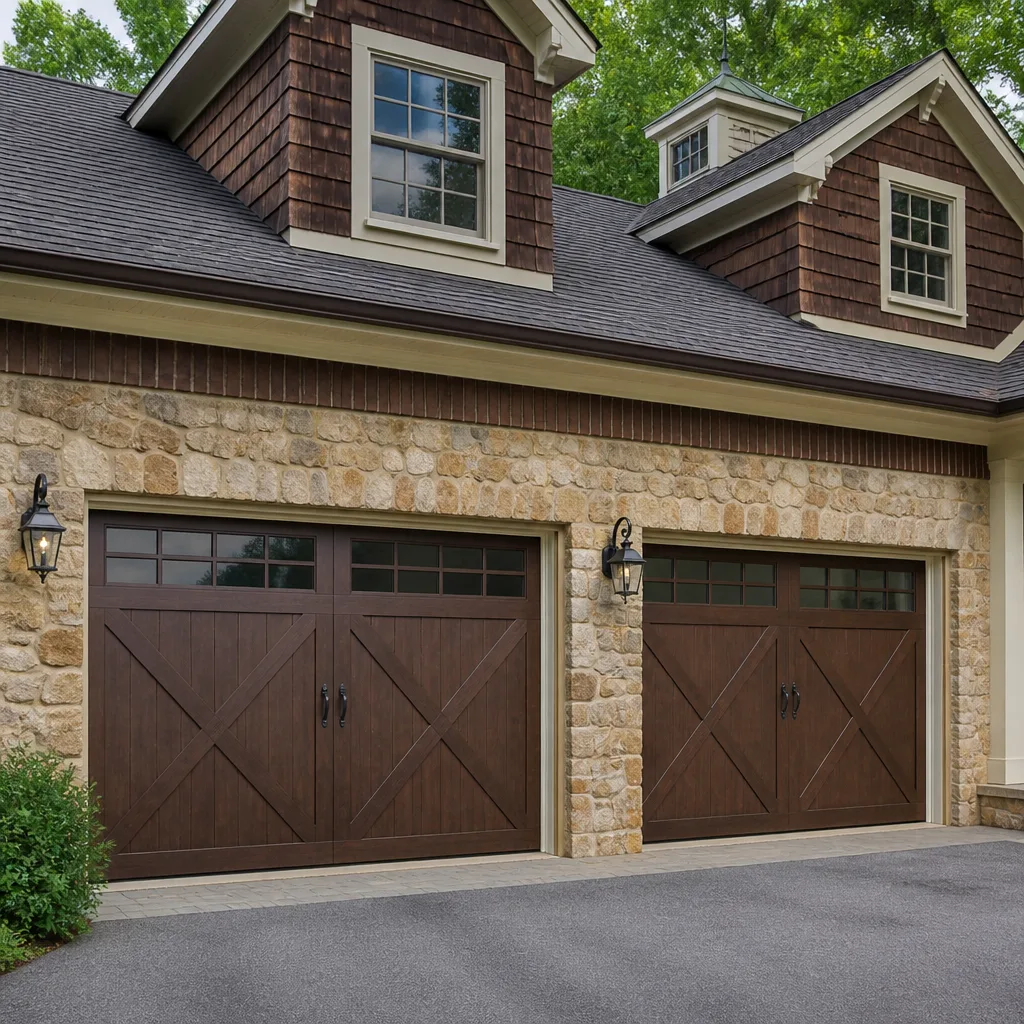 Carriage house
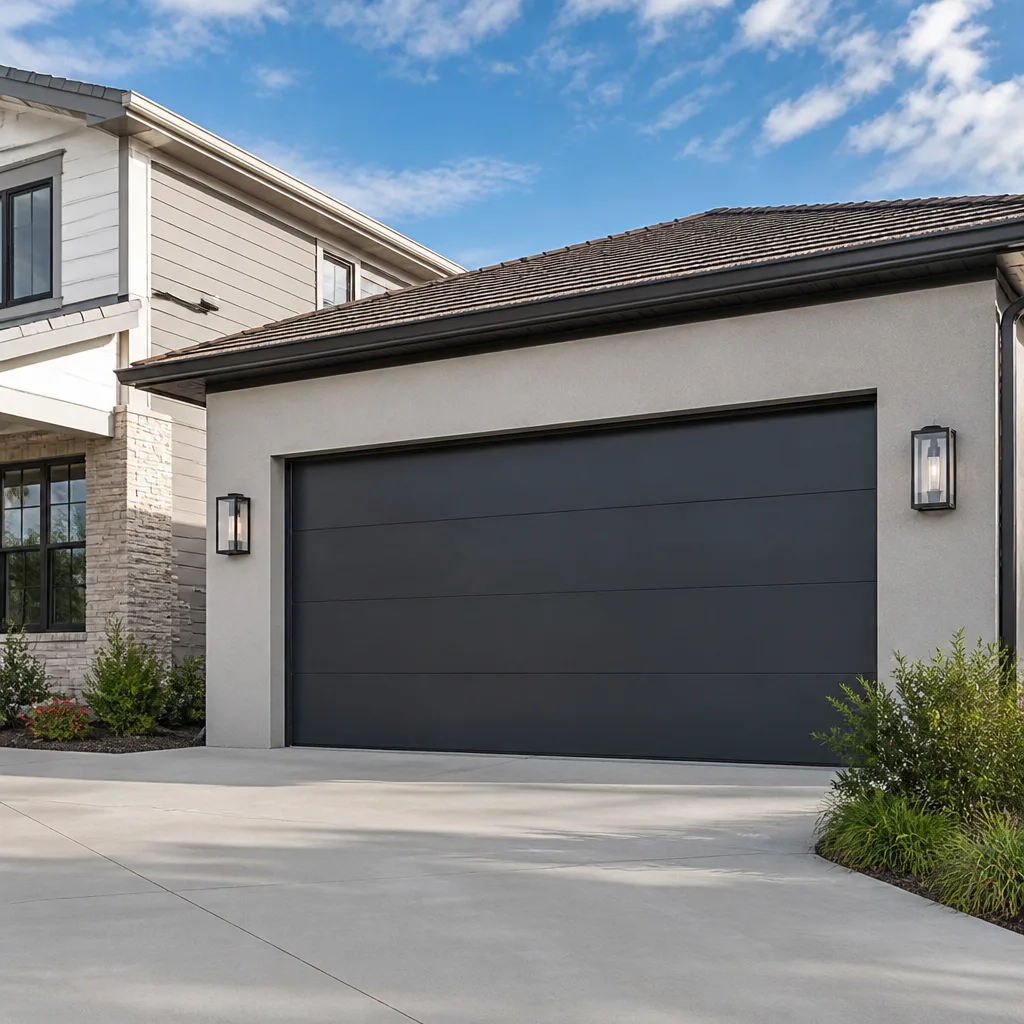 Modern flush
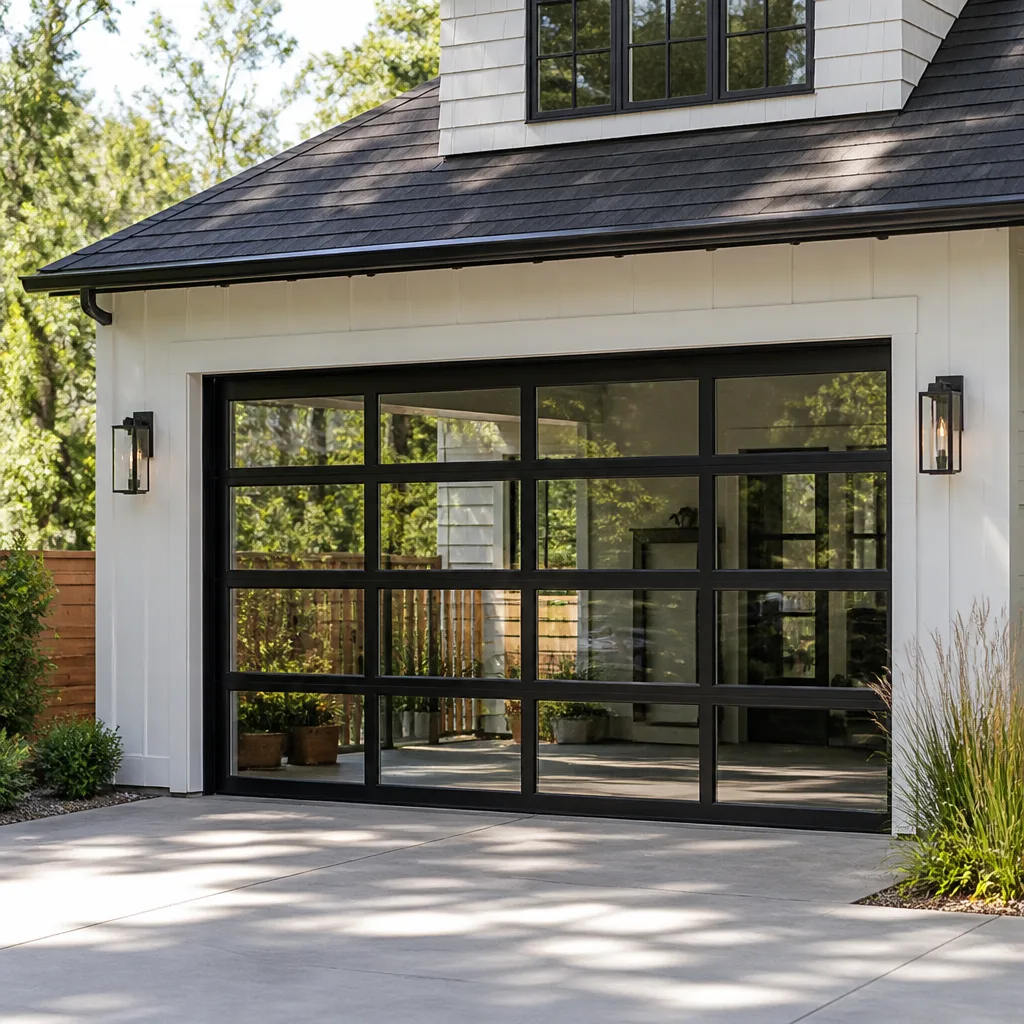 Full-view glass
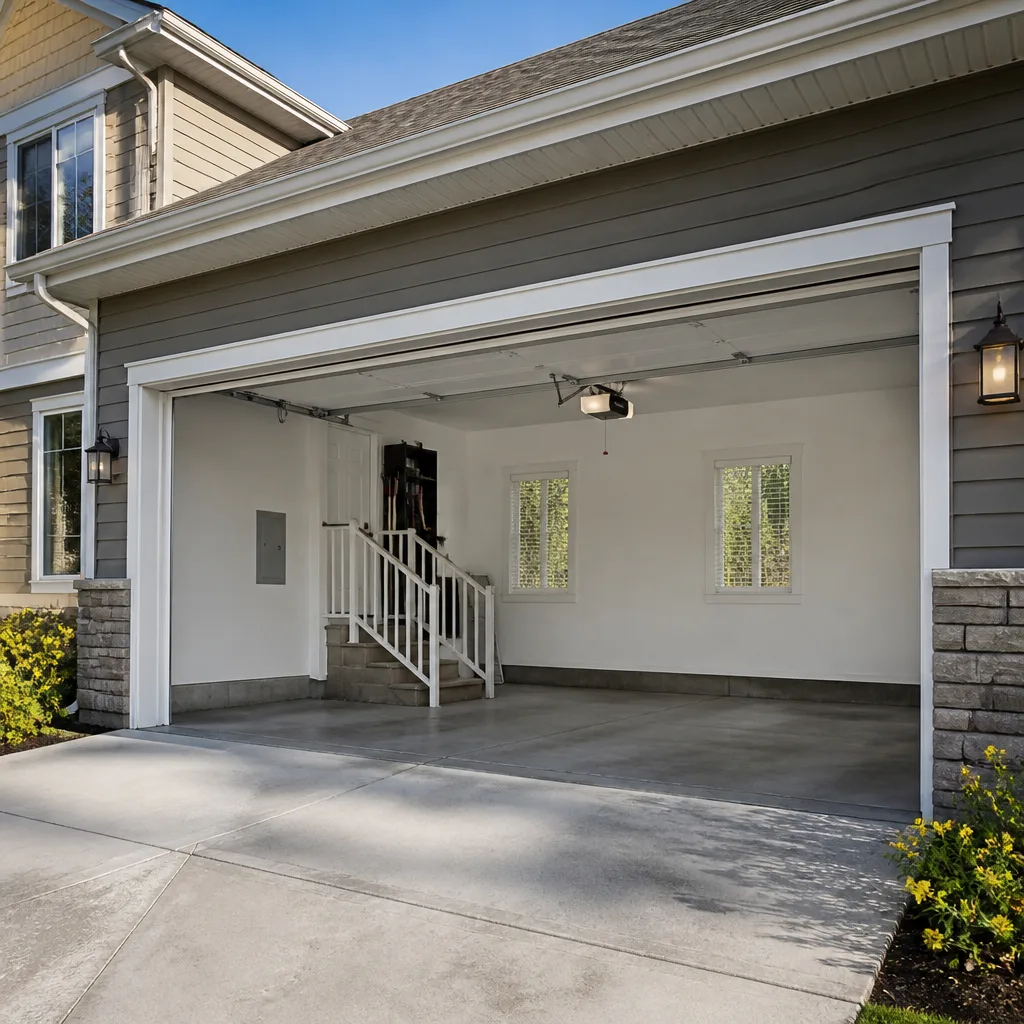 LiftMaster openers
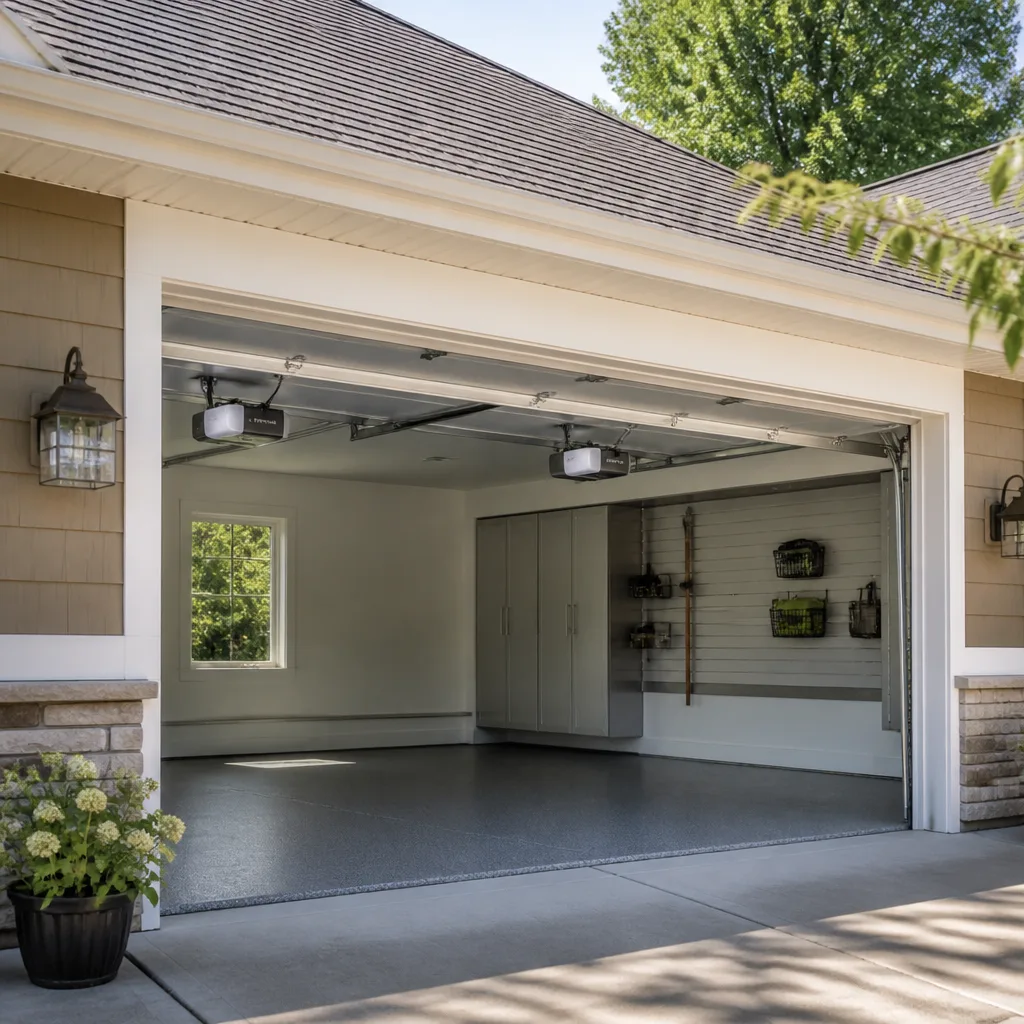 Chamberlain openers
Full 25-point door and opener safety check with every visit - springs, cables, rollers, tracks, and your LiftMaster or Chamberlain opener included
You get a price before we start. It does not change when the pro arrives.
Get your free estimateGarage Door Repair Maintenance Checklist for Hyde Park Homeowners
The number-one thing Hyde Park homeowners skip during garage door maintenance isn’t lubrication. It’s a 10-second balance test that exposes a spring about to snap under full load. Most checklists you’ll find online tell you to oil the moving parts and call it a day. That advice is safe, easy, and misses nearly everything that actually fails. In our experience, the real culprits are a tired spring, a worn cable drum, a seal that’s given up after an Ohio freeze-thaw winter, and an opener pushing far harder than it should. This guide ranks each check by how dangerous or expensive it gets when ignored, shows you how to run each one, and tells you which take 30 seconds and which take five minutes. You’ll learn what “bad” looks like before it becomes a breakdown. For anything on the dangerous list, we’ll say plainly when to stop and call a pro.
Quick Answer
A garage door maintenance checklist is a short set of visual and hands-on checks you run a few times a year to catch failing springs, worn cables, bad seals, and an overworked opener before they turn into an emergency. In Hyde Park, the most important checks are the manual balance test, cable drum inspection, weather seal condition after freeze-thaw cycles, and the opener force-limit test. A full pass takes about 20 minutes. Anything involving springs, cables, or the opener’s internal wiring is a look-only check: you observe and test from the outside, and you call a trained technician to fix what’s wrong.
Styles & brands we work with
- Raised-panel steel
- Carriage house
- Modern flush
- Full-view glass
- LiftMaster openers
- Chamberlain openers
Table of Contents
- 1. The Manual Balance Test: Your Early Warning System
- 2. Cable Drum Inspection: The Check Most Owners Skip
- 3. Weather Seal Condition Through Ohio’s Freeze-Thaw Cycle
- 4. The Opener Force-Limit Test Most Owners Never Run
- 5. Hinges, Rollers, and Tracks: The Visual Sweep
- 6. How Long Each Task Really Takes
- 7. A Seasonal Schedule That Fits Hyde Park Weather
1. The Manual Balance Test: Your Early Warning System
This is the single most useful maintenance step you can do, and almost nobody does it. The balance test reveals whether your springs are still carrying the door’s weight evenly. When a spring is on its way out, the door stops feeling neutral and starts feeling heavy, and you catch that months before it snaps. Run it once a season and again any time the door starts sounding different.
Here’s how to run it safely, on the outside of the system only:
- Close the door and pull the manual release cord to disconnect the opener. The door should be fully down when you do this.
- Lift the door by hand to about waist height, then to halfway open. Stop there.
- Let go and watch. A healthy door stays put, roughly where you left it, with almost no effort from you to hold it.
- Now the tell: lift it a few inches past halfway. If it slams down, or if it drifts up on its own from the halfway point, the balance is off.
A bad result looks like one of two things. Either the door won’t stay at halfway and drops hard, which points to a spring that’s lost tension and is close to failing. Or it drifts upward on its own, which can mean the spring is over-tensioned. Both are spring-related. Both mean you stop the test here and don’t keep cycling the door by hand. Reconnect the opener only after you’ve read the next section on why spring tension is a professional job.
One warning we repeat on every call: do not try to adjust the springs yourself to fix a bad balance result. The torsion springs above your door hold the full weight of the door and are under extreme tension even when the door looks still. Touching them without the right winding bars and training is how serious injuries happen. In Hyde Park, where many homes have a single-car or double-car door on daily use, a spring that’s off balance fails under load, and that’s exactly when you don’t want to be standing under it.
2. Cable Drum Inspection: The Check Most Owners Skip
Look up at the top corners of your door frame on either side. You’ll see a metal drum with a steel cable wound around it. That drum and cable are what lift the door, and they’re the part of the system that gives you warning before a cable snaps. Most consumer checklists never mention them, which is why cable failures catch people off guard.
What to look for, from the ground, without touching:
- Frayed or bird-caged cable. The cable should lie in neat, even wraps around the drum. Loops crossing over each other, kinks, or stray wires sticking out mean it’s close to failing.
- Cable slack. With the door closed, the cable should be taut. A sagging cable is slipping off the drum.
- Rust at the drum. Ohio’s damp winters put moisture on steel, and rust weakens the cable at its most stressed point.
- Uneven drums. If one drum sits higher or looks tilted compared to the other, the door is tracking crooked and stressing one side.
If anything on that list shows up, treat it as a stop-driving signal. A cable that fails under load lets the door drop on one side, which can bend the door panels and damage the track. We work on LiftMaster and Chamberlain opener setups daily, and a lifted or crooked door puts extra strain on the opener too, so a neglected cable can take the opener down with it. Cable replacement is a professional job: the cable is under the same heavy tension as the spring. When you see fraying or slack, don’t cycle the door. Move on to the safer checks below and book a service call.
3. Weather Seal Condition Through Ohio’s Freeze-Thaw Cycle
Hyde Park sits in a climate that swings hard between freezing and thawing through winter, and that cycle is rough on garage door seals. Water gets into small cracks, freezes, expands, and pries the seal apart a little more each time. By spring, a seal that looked fine in the fall can be cracked, stiff, or pulling away. There are two seals to check, and they fail in different ways.
The bottom seal runs along the base of the door. Check it for:
- Flattened or torn rubber where the door meets the floor.
- Gaps you can see daylight through when the door is closed.
- A stiff, brittle feel after a cold snap, which means the rubber has aged out.
The side and top seals frame the door opening. Those fail differently, usually by pulling loose at the corners or shrinking so a gap opens along the edge. Watch for daylight at the sides, drafts, or water getting in during a hard rain.
Why it matters beyond comfort: a failed bottom seal lets in cold air, moisture, and pests, and it lets water sit against the door’s bottom panel, which invites rust. In Hyde Park, a bottom seal that’s frozen stiff can also make the door harder for the opener to lift, which wears the opener out faster. A visual check of both seals takes a minute. Replacement is a straightforward, low-risk task, but size and profile matter, so match the seal to your door brand. We handle seals for Raynor, Clopay, and Amarr doors, among others, so the replacement fits the door already on your house.
4. The Opener Force-Limit Test Most Owners Never Run
Every opener has a force limit: the amount of resistance it will push through before it gives up and reverses. That setting is a safety feature, and it drifts over time. A force limit set too high lets the door crush or trap something before it stops. Set too low, and the door reverses for no reason. Technicians check this on every safety call, and most owners have never run it once.
Here’s the safe version you can do yourself, without opening the opener housing:
- With the door connected and fully open, lay a roll of paper towels or a small cardboard box flat on the floor in the door’s path.
- Close the door using the wall control and watch what happens when it meets the object.
- The door should reverse on contact, or stop and reverse within a moment of touching the object.
- If it keeps pressing down on the object, the force limit is too high. Stop testing and get it adjusted.
Do the same with the safety sensors at the base of the track: pass an object through the beam while the door is closing, and the door should reverse. If it doesn’t, the sensors are misaligned, dirty, or failing. A Genie or LiftMaster opener that won’t reverse on a blocked sensor is a real safety hazard, especially in a home where kids or pets use the garage.
Adjusting the force limit itself is a small turn of a screw on the opener, but the correct setting depends on the door’s weight and the opener model, so it’s a task to hand to a tech. If your door reverses for no reason or won’t reverse at all, that’s a sign to book garage door opener repair rather than keep cycling it. Getting the force limit right is one of the cheapest, highest-value fixes on the whole system.
5. Hinges, Rollers, and Tracks: The Visual Sweep
Once the big-ticket checks are done, the hardware sweep is quick. These parts don’t usually fail dangerously, but worn rollers and bent tracks make the door noisy, strain the opener, and eventually cause the door to bind. Run this one every few months, and any time the door starts sounding rough.
Walk the door and check:
- Hinges. Look for cracks, loose screws, or a hinge that’s pulling away from the panel. Tighten loose screws carefully, and stop if the metal around a screw is torn.
- Rollers. Worn rollers get flat spots or wobble in the track. Steel rollers tend to get noisy; nylon rollers wear smoother.
- Tracks. The vertical and horizontal tracks should be straight and evenly spaced. A dent or a track knocked out of alignment makes the door drag on one side.
- Bolts and brackets. A quick visual for anything obviously loose. Don’t loosen or remove the brackets that hold the springs or cables; those are load-bearing.
Lubrication fits here, but it’s a small part of the whole. A light application of a proper garage door lubricant on the hinges, rollers, and the torsion bar (never on the tracks, which should stay clean and dry) quiets the door and slows wear. That’s the step most checklists put first, and it’s worth doing, but it’s the least likely thing to prevent a failure. If the door is scraping, binding, or jumping in the track, that’s a job for garage door repair before the tracking problem bends a panel.
6. How Long Each Task Really Takes
One reason people skip maintenance is the assumption that it eats an afternoon. It doesn’t. Here’s a realistic breakdown of each check, so you can slot them in where they fit. None of these require special tools beyond a screwdriver and a rag.
- Manual balance test: about 6 seconds of hand-testing the door, plus a minute to reconnect the opener. Call it 2 minutes total.
- Cable drum inspection: 1 minute to look up and check both drums from the ground. It’s eyes only; don’t touch.
- Weather seal check: 2 to 3 minutes to walk the bottom and sides and look for daylight or cracks.
- Opener force-limit and sensor test: 3 to 4 minutes including the object test and the sensor beam test.
- Hardware sweep and light lubrication: 6 to 8 minutes to check hinges, rollers, and tracks and add a little lubricant.
Tally it up and a full pass is about 20 minutes. Not an afternoon. Run it once a season and you’ll catch most problems in the look-only stage, long before they cost you an emergency call. Do the balance test more often in Hyde Park’s wet spring and cold winter months, when springs, cables, and seals take the most punishment. A 20-minute habit is the difference between a smooth door and a surprise on a morning when you need to leave.
7. A Seasonal Schedule That Fits Hyde Park Weather
You don’t need a rigid calendar, but tying the checks to the seasons here makes them easier to remember and more useful. Hyde Park’s mix of humid summers and freeze-thaw winters means certain parts need attention at certain times.
- Early spring (after the thaw): check the weather seals, which take the most damage over winter, and run the full 20-minute pass as the season changes.
- Summer: the lighter season for a garage door, but a good time to check rollers and hinges and do a light lubrication so the hardware runs quietly.
- Early fall (before the freeze): check seals and cables again before the cold arrives, and run the opener force-limit and sensor tests before the door gets heavy winter use.
- Winter: keep the balance test in your routine and watch for a door that suddenly feels heavy; a spring is more likely to give out under cold-weather load.
If the door is getting significant daily use, or you’re in a Hyde Park home with a door that’s been in place a while, a professional tune-up once a year plus these seasonal checks keeps the whole system in good shape. When repairs stack up, or the door is dented, misaligned, or losing panels, a full replacement can be the smarter spend than chasing fix after fix. When that’s the case, we handle garage door installation across the major door brands so the new door fits your opening without guesswork.
Common Mistakes to Avoid
- Adjusting the springs yourself. The torsion springs hold the door’s full weight under tension. Without the right winding bars and training, this is the most dangerous thing a homeowner can attempt. Leave it to a trained technician.
- Lubricating the tracks. It’s tempting, but oil on the tracks attracts grit and makes the rollers slip. Keep tracks clean and dry, and lubricate only the hinges, rollers, and torsion bar.
- Ignoring a frayed cable because the door still opens. A cable that’s bird-caged or slack is close to failing. Keep using the door and it can drop on one side, bending panels and the track.
- Running the balance test on a connected door. Do it with the opener released, and never reach under a door you’re testing by hand. Test, then reconnect.
- Skipping the force-limit test entirely. A force limit set too high is a safety problem, especially in a garage used by kids or pets. Run the object and sensor tests a couple of times a year.
- Leaving a failed weather seal through winter. In Hyde Park’s freeze-thaw cycle, water gets behind a torn seal and rusts the bottom panel. Replace it before the cold sets in.
- Assuming a noisy door needs a new opener. Noise usually comes from worn rollers, dry hinges, or a loose part. Diagnosing the actual cause saves you from replacing a healthy opener.
See the difference
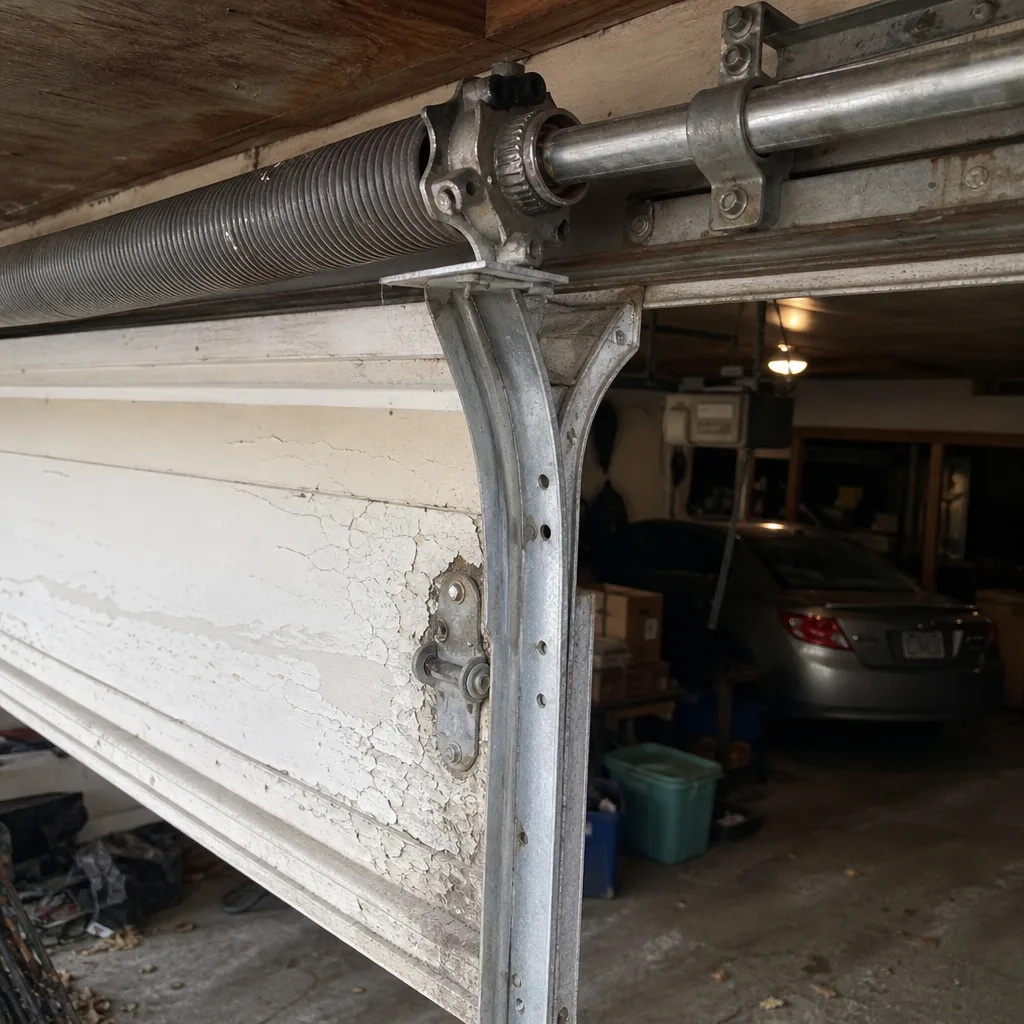 Before
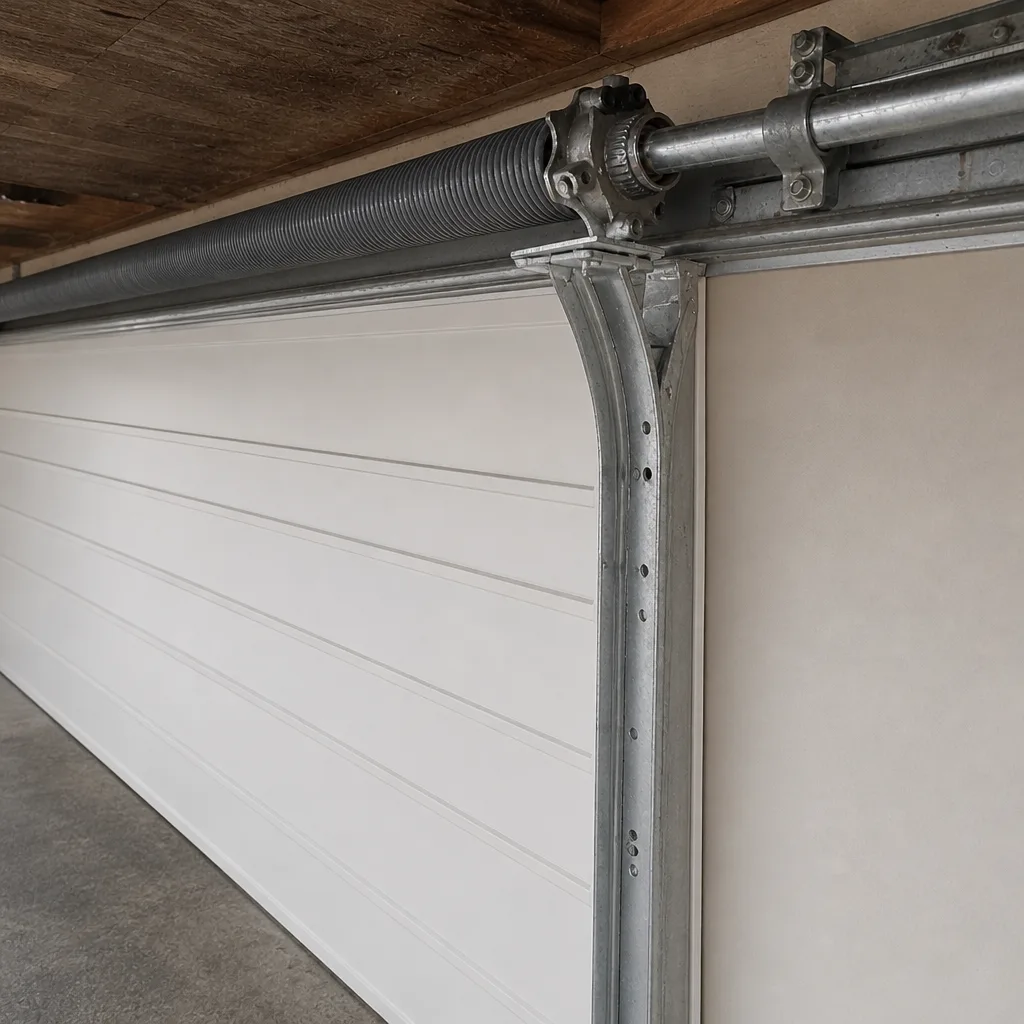 After
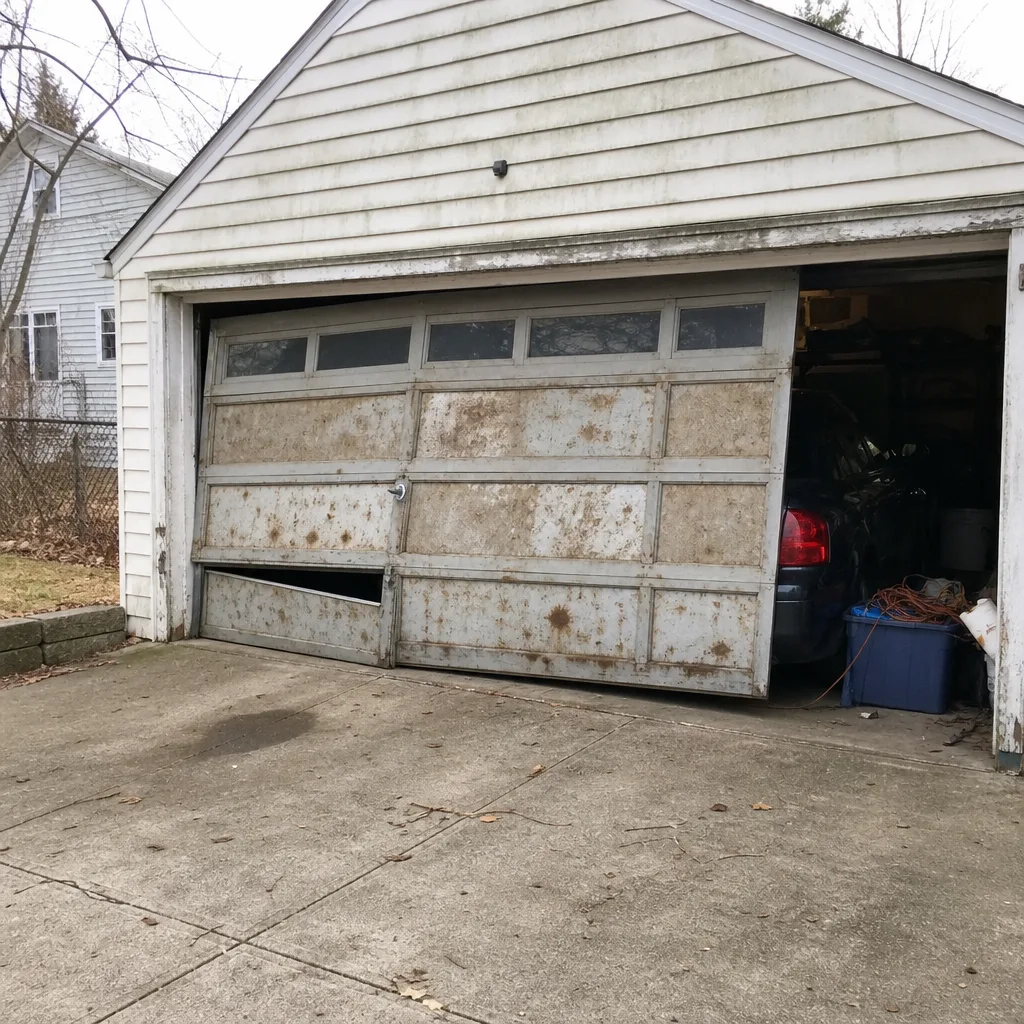 Before
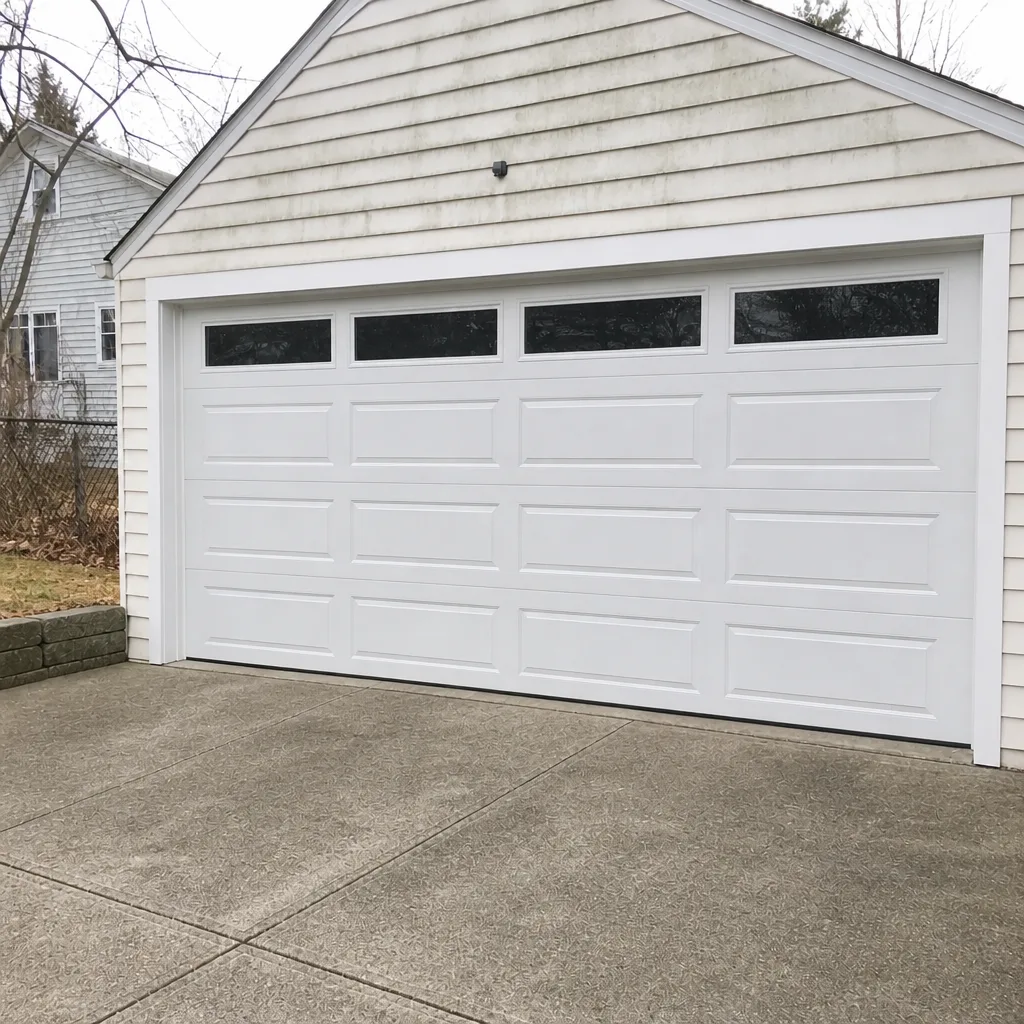 After
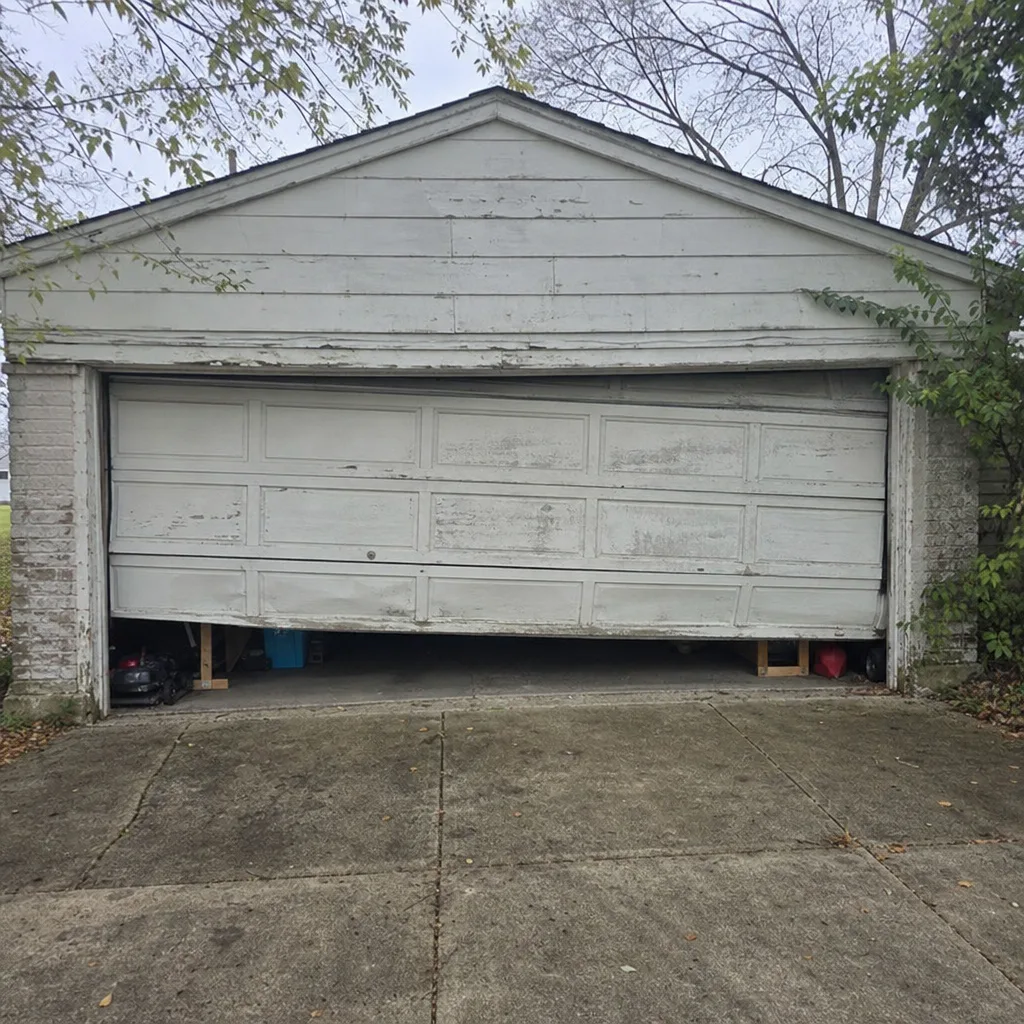 Before
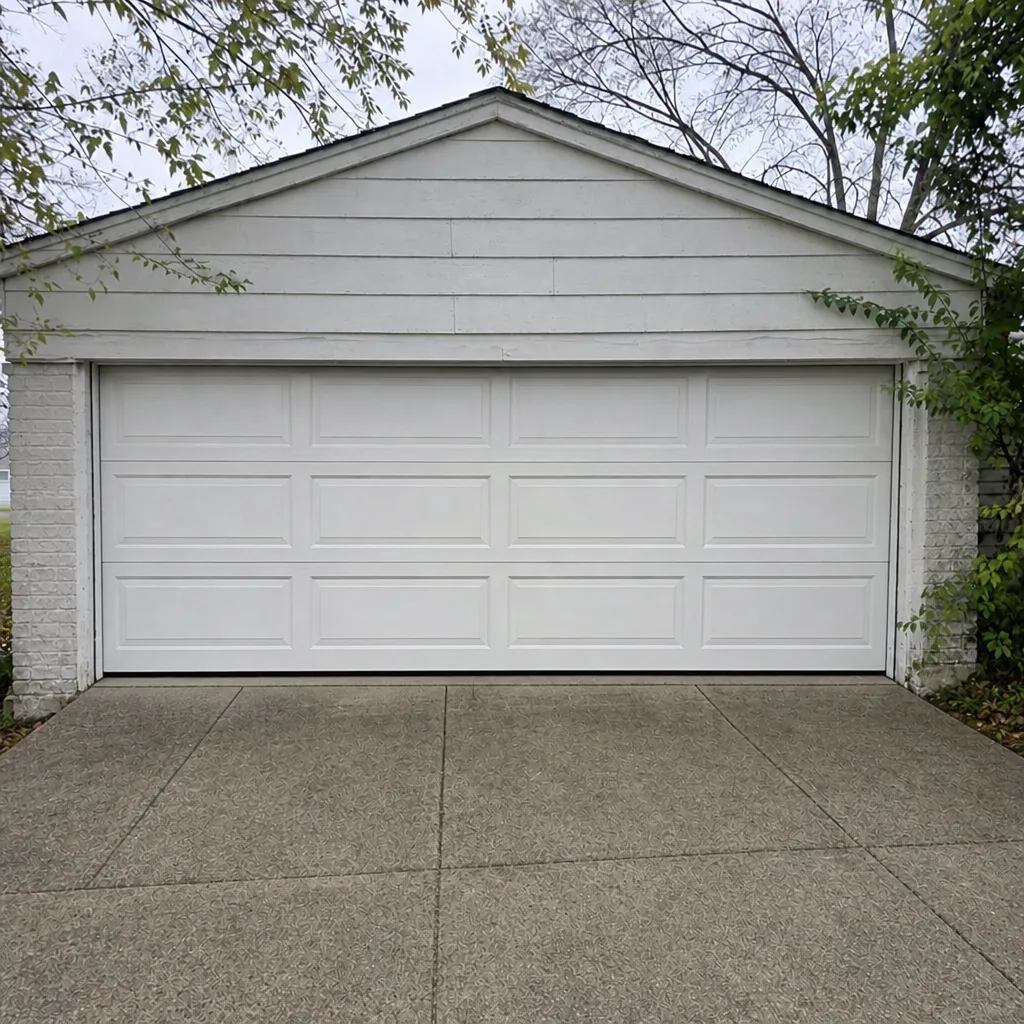 After
When to Call a Professional
Some failures are maintenance items. Others are jobs for a trained technician, and it’s worth knowing the difference. Call a pro when the balance test shows the door dropping or drifting, when a cable is frayed or slack, when the door won’t reverse on a blocked sensor, when the door is crooked or dragging in the track, or when a spring looks broken (a visible gap in the coil). Those involve heavy stored energy or safety systems, and getting them wrong is how a small problem becomes an emergency. If your garage door won’t move at all, or it failed at the worst possible moment, our emergency garage door service exists for exactly that. Hyde Park Garage Door Repair offers free estimates in Hyde Park. Call (866) 825-6356 and we’ll take a look. We work on the brand already in your garage, from Raynor doors to LiftMaster openers, and our technicians have up to 10 years of experience. Our technicians are experienced with the parts and procedures each system needs.
Frequently Asked Questions
Run the full 20-minute checklist once a season, and the balance test more often during the wet spring and cold winter months when springs, cables, and seals take the most punishment. If the door gets heavy daily use, add a professional tune-up once a year. A quick balance test any time the door starts sounding different catches spring problems early.
A bad balance test looks like a door that won’t stay at halfway and drops hard, or one that drifts upward on its own. A healthy door stays put where you leave it. If the door drops or drifts, stop testing and book a service call; the spring is losing tension and is close to failing. Don’t try to correct it by adjusting the spring yourself.
No. Garage door torsion springs hold the full weight of the door and are under extreme tension even when the door is still. Adjusting or replacing them without proper winding bars and training is how serious injuries happen. This is one job to leave to a trained technician. Call (866) 825-6356 for spring repair and we’ll handle it safely.
Ohio’s freeze-thaw cycle is hard on seals: water gets into small cracks, freezes, expands, and pries the rubber apart over the winter. A seal that looked fine in fall can be cracked or pulling loose by spring. Check the bottom and side seals each season and replace them before winter so water doesn’t rust the bottom panel.
Usually it’s the force limit or the safety sensors, both of which are maintenance checks. If the door reverses on its own, check that the sensor beam at the base is clear and aligned, and run the object test. If it still reverses or won’t reverse at all, the force limit needs adjusting or a part needs replacing, which is a job for a technician.
Repair is the right call when the problem is isolated, like a worn roller, a bad seal, or an opener issue. A new door makes sense when the door is bent, misaligned, or losing panels, or when repairs are stacking up faster than the door is worth. A free estimate gives you a straight answer on which is the better fix. Call (866) 825-6356 to talk it through.
The Bottom Line
Most garage door maintenance advice stops at lubrication, and that misses the failures that actually hurt. The balance test, the cable drum check, the weather seal review, and the opener force-limit test catch the dangerous and costly problems while they’re still cheap to fix. All four together take about 20 minutes a season. Do the look-only checks yourself, leave springs and cables to a trained technician, and you’ll get years more out of the door. Start with Hyde Park Garage Door Repair when a check turns up something. Free estimates, and we work on the brand already in your garage.
Ready to get your door into a reliable routine? Call Hyde Park Garage Door Repair at (866) 825-6356 for a free estimate. Whether your seasonal checklist turned up a worn seal, a noisy opener, or a heavy door that needs a pro, we’ll diagnose the exact cause and quote the price before any work starts. Estimates are free, so there’s no reason to wait.
Written by the team at Hyde Park Garage Door Repair.